If you are using an older Mac computer, chances are, it’s running much slower than it did back when you first got it. That’s normal, and if you’ve been using it for a couple of years, it’s probably full of clutter that you no longer use, and that is slowing your computer down.
It could also be that your hard drive has little space left, or maybe you’re running an old operating system version, which is not compatible with some of the programs you are using. There are plenty of other issues that could be causing it to slow down but the good news is that speeding up your Mac is not difficult, and it will not cost you.
Here are the main causes of a slow Mac, and how to speed it up.
1. Check for apps using a lot of power in Activity Monitor.
When a program is using a lot of your CPU’s power, your computer will slow down. It’s usually pretty noticeable because in addition to running much slower, your computer might also heat up. Access the Activity Monitor in order to check whether some program is constantly using up your computer’s resources. Open the Utilities folder and press Activity Monitor. Then, View -> Windowed Processes.
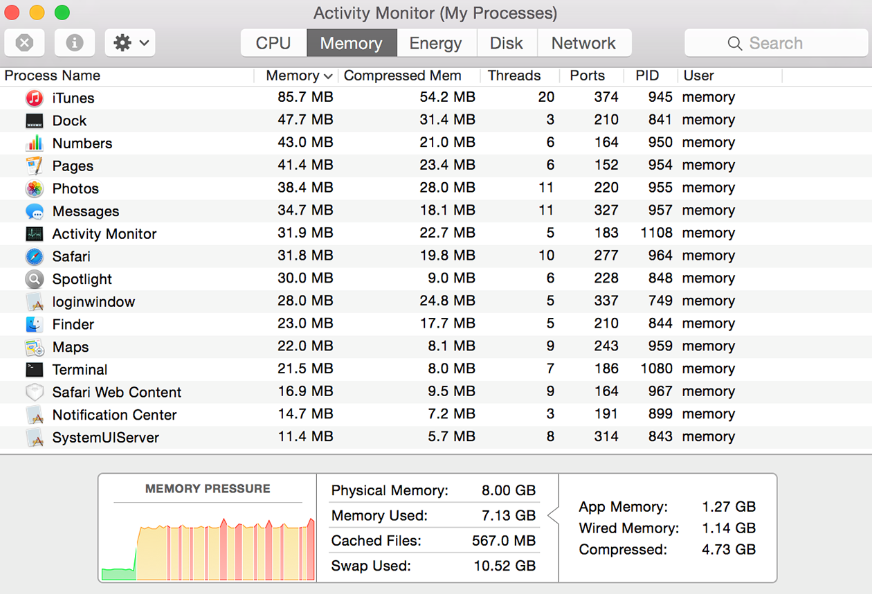
You will now be provided with a list of program that are running, and if you press on ‘%CPU’, you will be able to see which programs are using the most CPU. If some particular application is using a lot of your computer’s resources, consider closing it.
2. Close programs you are not using.
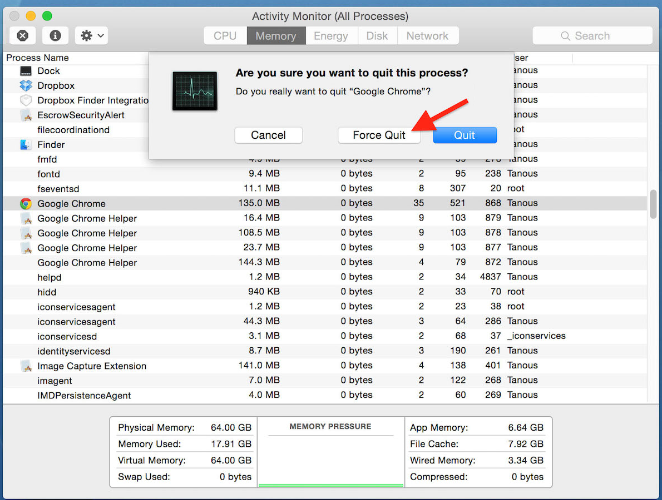 If you computer is being particularly laggy, it may be that too many programs are running at the same time. You might not even notice them running if you did not properly close them. You can usually see which programs are not fully closed by looking for a dot below a program on your dock. If you want to close those programs, right-click on the icon and select ‘Quit’. If ‘Force Quit’ appears instead, there could be something wrong with the application and that’s what’s causing the slow down.
3. Don’t allow programs to open on startup.
When you install some kind of program, it may automatically set to open on startup. Or maybe you set them to do it yourself. A lot of programs opening upon startup could be causing your computer to act sluggish, so we suggest you not allow some of them to do so.
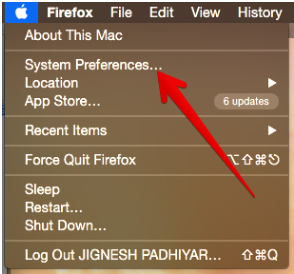
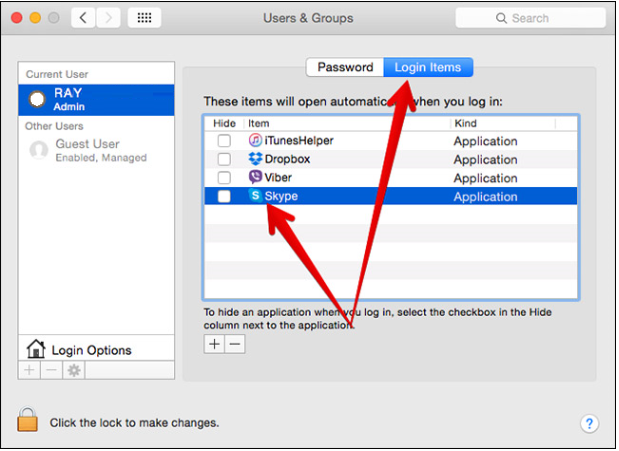
Access System Preferences and select ‘Users & Groups’.
Press on the ‘Login Items’ tab, and you will see all programs that are allowed to automatically open when you launch your Mac. Choose some less-used, or all, programs and deselect them.
4. Regularly update your software.
You can check for available updates by clicking on the Apple icon and selecting ‘Software Update’. If updates are available, make sure you install them. They are not only important for keeping your Mac running normally but also for security. Programs have certain vulnerabilities that can be used by cyber criminals, and developers constantly release updates for the programs to patch them up.
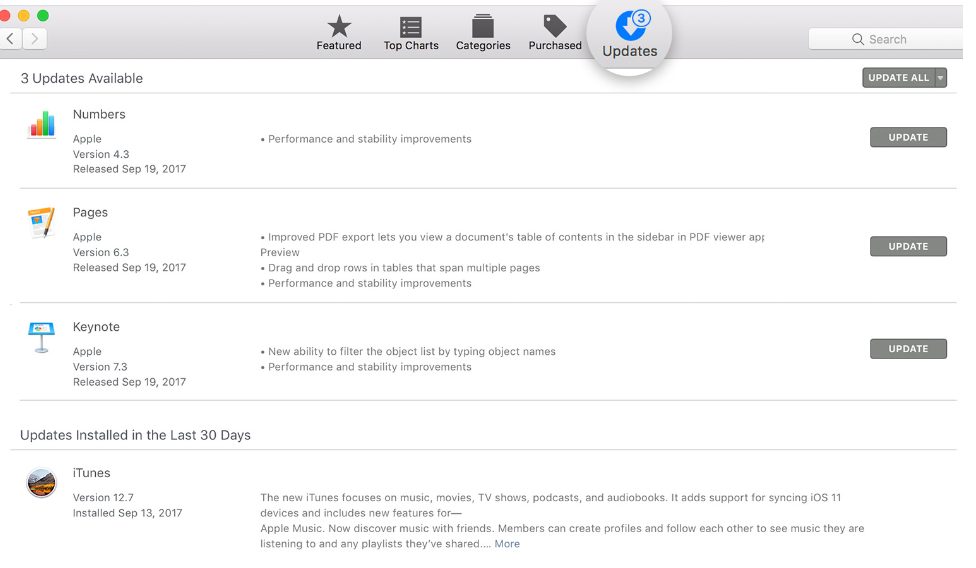
We suggest you set your Mac to check for updates automatically. Access the App store via System Preferences, and select the box that says ‘Automatically check for updates’. You can also choose to allow the apps to update automatically.
5. Limit or turn off visual effects.
The bouncing of the program icon while launching, the appearance or disappearance of your dock, etc., these visual effect could also be causing your computer to slow down. If you want your Mac to stop doing that, go to Dock via System Preferences. Turn off all the visual effect, such as application opening animation, that could be influencing your computer’s efficiency. 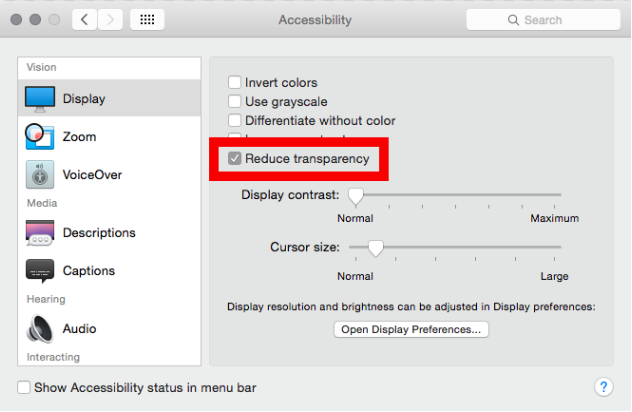
6. Free up space on your hard drive.
If your hard drive if is full, it’s not surprising your computer is running slow. If you have a big film and music library, or thousands of high-quality photos, it would pretty easily use up all your hard drive space. If you have very little space left, you might want to consider storing your films, music and photos somewhere else. There are plenty of options available, like Cloud, Google Drive or Drop Box. If you prefer a more old fashion way, you can put it all in removable storage devices.
 Programs and files you are no longer using could also be using a lot of space so consider deleting them. You can easily check what files are taking up the most space by accessing ‘All My Files’ via Finder. Click ‘Size’ to see which ones are the largest files. If you no longer need them, remove them. Don’t forget to then empty the Trash.
7. Remove cache.
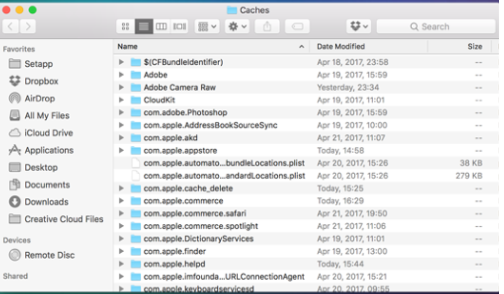
Cache, especially if you have not deleted it in a while, could be taking up tens of gigabytes of space, so you can easily free up hard drive space by erasing it. You can check your cache status by pressing Command+Shift+G and then typing ~/Library/Caches/ in the Go To Folder. Look for programs you don’t use any more and remove their cache.
Your browser could be especially guilty of clogging your computer with cache so it may be a good idea to empty it. If you are using Safari, open it and in the Apple menu bar, select ‘Safari’ and then ‘Reset Safari’. You can choose what will be deleted, and if you only want the cache gone, leave all boxes unchecked and only tick the ‘Remove all Website Data’.
For Google Chrome users, press Chrome on the Apple menu bar, and select ‘Clear Browsing Data’. Tick the boxes of everything you want deleted and press ‘Clear browsing data’.
If you’re a Mozilla Firefox user, open the browser and in the Apple menu bar press ‘History’ and then ‘Clear Recent History’. In the window that appears, tick what you want erased, and press ‘Clear Now’.
8. Reinstalling your macOS
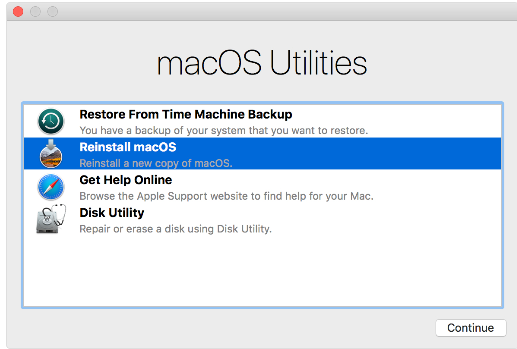
Keep in mind that this should be your last option. You will be essentially deleting everything that is inside your Mac. Apple support provides a clear guide on how to reinstall your macOS here. Before you proceed, however, make sure you have backup for everything that you do not wish to lose. It would be even better if you had two copies of everything.
